This blog post talks about Kubernetes logging using Prometheus, Grafana, Loki, Promtail and Auditd.
Introduction
Honestly, I’m totally new to kubernetes so this is a learning journey for me as well. After digging around abit, it seems that kubernetes logging is not as straight forward as like WinEvents or Sysmon.. There are a ton of metrics and services like kublet that has logs too. Many articles mention “Prometheus” as the golden standard to collect metrics. It seems that this is being used in Red hat OCP as well. Lets start with that.
Installing helm - a package manager for Kubernetes
You can follow the guide from the official helm.sh page. Helm enables you to download community packages that are already configured to have some of the key services like Prometheus/Grafana installed.
curl https://baltocdn.com/helm/signing.asc | gpg --dearmor | sudo tee /usr/share/keyrings/helm.gpg > /dev/null
sudo apt-get install apt-transport-https --yes
echo "deb [arch=$(dpkg --print-architecture) signed-by=/usr/share/keyrings/helm.gpg] https://baltocdn.com/helm/stable/debian/ all main" | sudo tee /etc/apt/sources.list.d/helm-stable-debian.list
sudo apt-get update
sudo apt-get install helm
Installing packages
Once helm is installed, you’re ready to begin installing community packages with preconfigured settings. (ready out of the box)
# Add both of these to helm repo first
helm repo add prometheus-community https://prometheus-community.github.io/helm-charts
helm repo add grafana https://grafana.github.io/helm-charts
# Dont worry about the -f parameter just yet. There are some parameters in these yaml files that you may want to edit accordingly to your needs.
helm show values prometheus-community/kube-prometheus-stack > kub.yaml
helm show values grafana/loki-stack > loki-stack-value.yaml
helm upgrade --install loki --namespace=prometheus-grafana grafana/loki-stack -f loki-stack-value.yaml --create-namespace
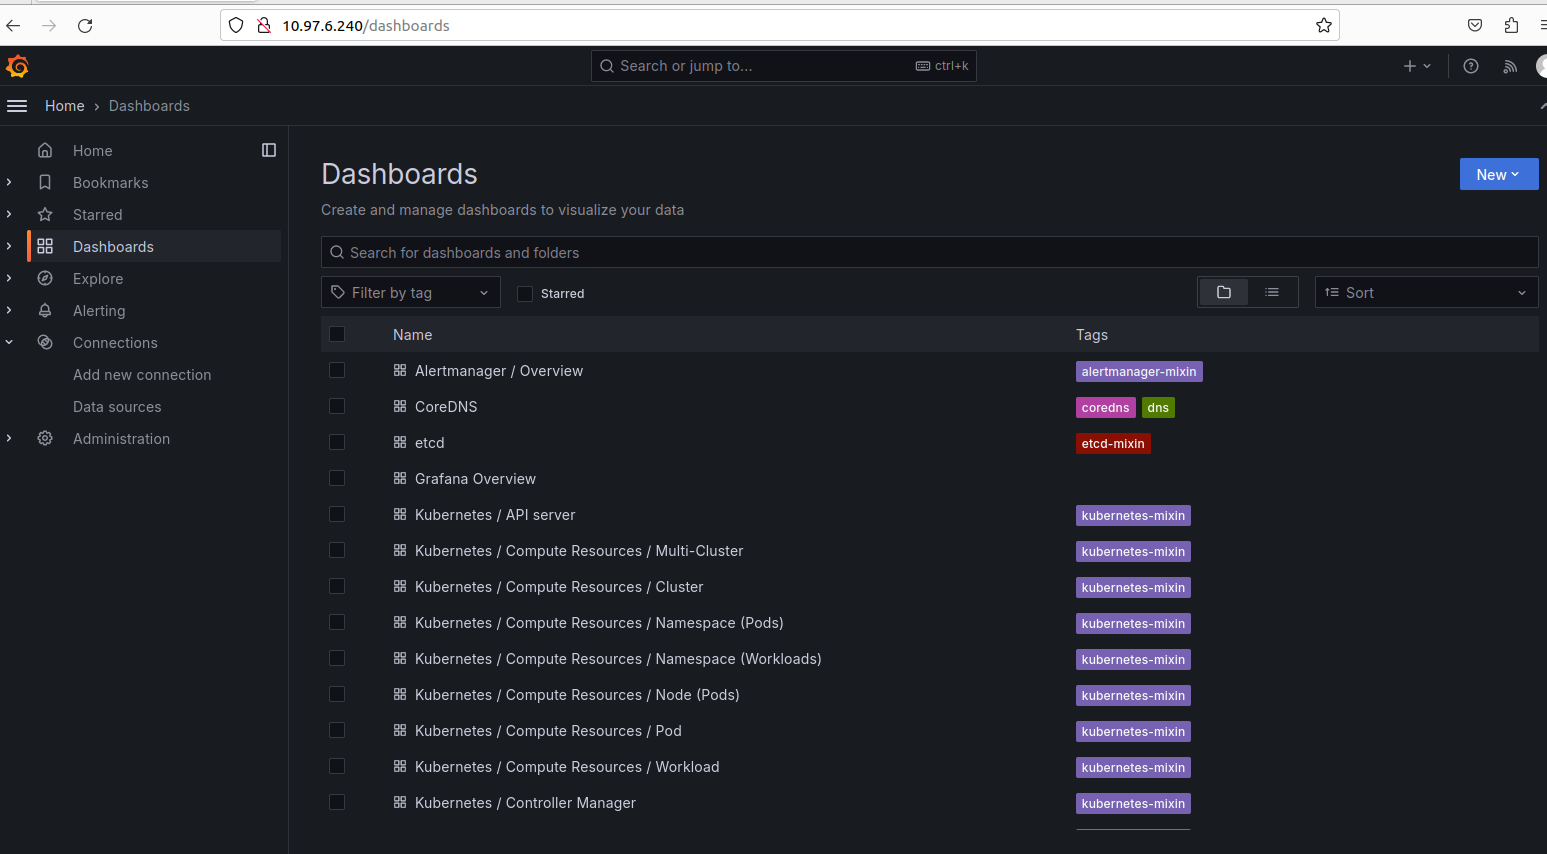
helm install prometheus-grafana prometheus-community/kube-prometheus-stack -n prometheus-grafana --create-namespace -f kub.yamlWith that, you should have access to grafana dash board using the IP address stated in kubectl get all -A and look for the service/prometheus-grafana ip address. The credentials are admin:prom-operator. Welcome to Grafana dashboard! There will be some pre-populated dashboard template with queries already baked in. Unfortunately, you have to configure the Loki connection manually… Follow on to see how to do that.
Enable Loki as a data source in Grafana
Within your kub.yaml generated earlier, you have to add this chunk of code within.
# This is under Grafana - roughly line 1150. After "deleteDatasources: []"
additionalDataSources: #[]
- access: proxy
isDefault: false
name: loki
orgId: 1
type: loki
url: http://loki:3100
version: 1
# Run this again
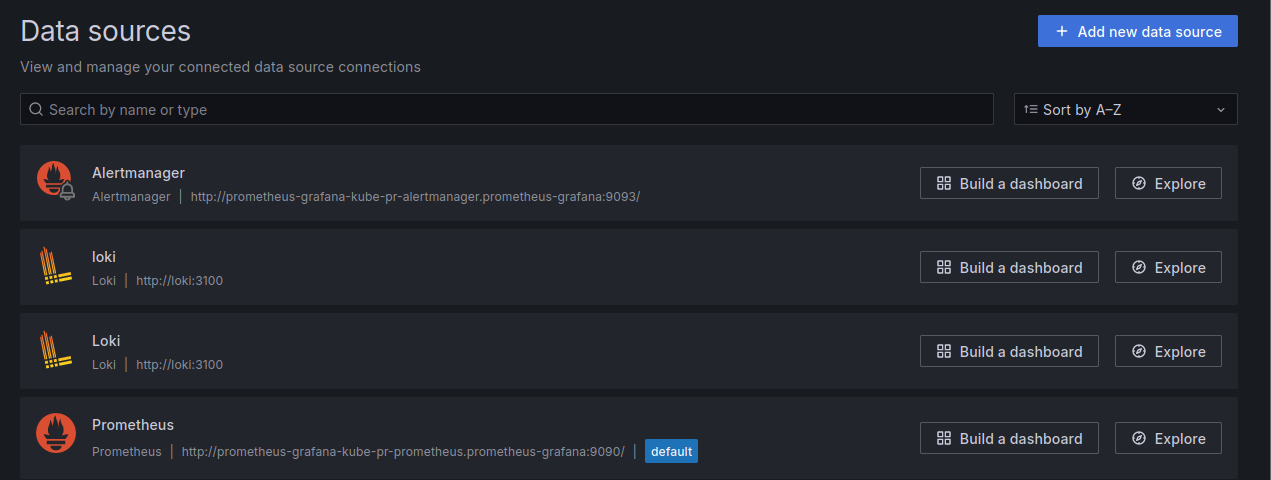
helm install prometheus-grafana prometheus-community/kube-prometheus-stack -n prometheus-grafana --create-namespace -f kub.yamlYou should see this now.
Visualization and querying
Now that the data sources are all in place, you can navigate around Grafana to view community build dashboard or even create your own. If you want to query something specific, click on Explore and select the data source. The dropdowns will help guide you in searching for any info that is piped to grafana.
Whats Next?
Part 3 will feature how I configured Loki to send auditd logs of the nodes (inclusive of auditd configs). Thats all!